Free pattern for you!
Make one of these for anyone who owns a smartphone. (So, like, everyone.)
Hi friends,
Ever get tired of holding your phone when you’re watching a video or following a recipe? You need a phone prop pillow holder thingie. Not sure what to call this soft but weighted phone holder, but I will tell you they make up fast and you can use slow stitching to make them extra special. P.S. They don’t photograph well, but they do make a great gift.
The Pattern
OK, it’s kind of a stretch to even call this pattern. It’s really more like instructions. Here’s what you need:
A piece of fabric that measures 9 by 12 inches
A piece of ribbon or a strip of fabric, about 3 inches long for the tab (The tab is optional, but you can thread a charging cord through it to hold the cord in place.)
Fiber fill or other stuffing material of your choice
Poly Pellets or rice
Sewing machine (or you can sew the whole thing by hand)
Needle and sewing thread
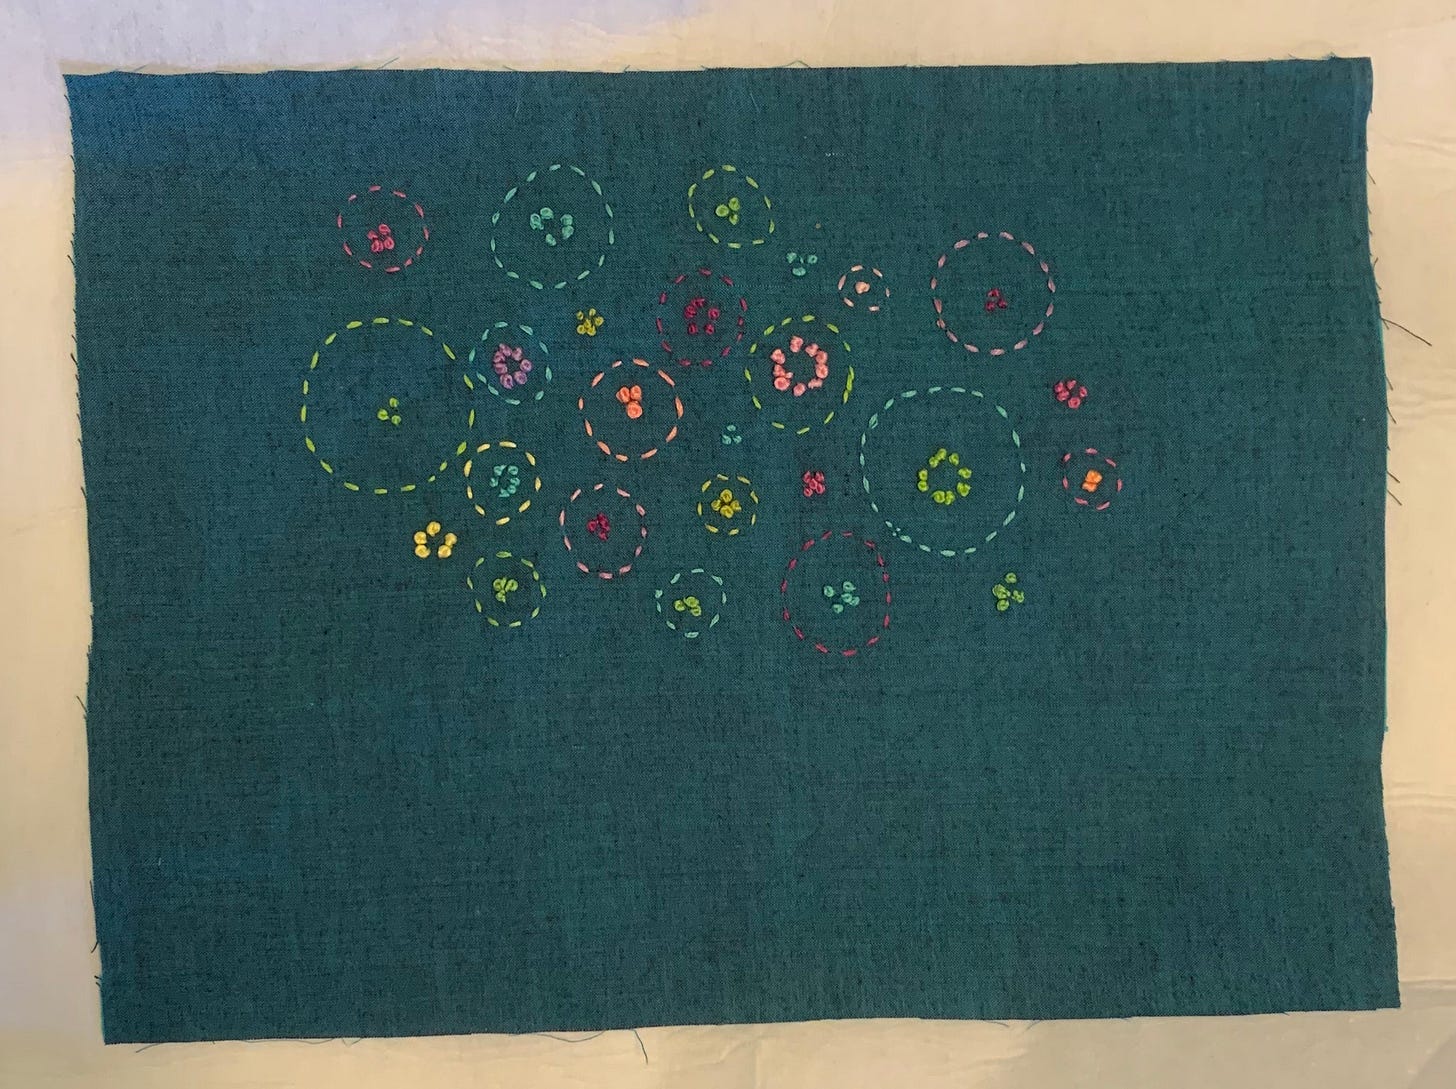
Cut your fabric to size (9 x 12 inches). If you plan to add some slow stitching, you don’t need to stitch over the entire piece. Below you can see I only stitched in the area where it would show the most when the phone pillow is finished and in use.

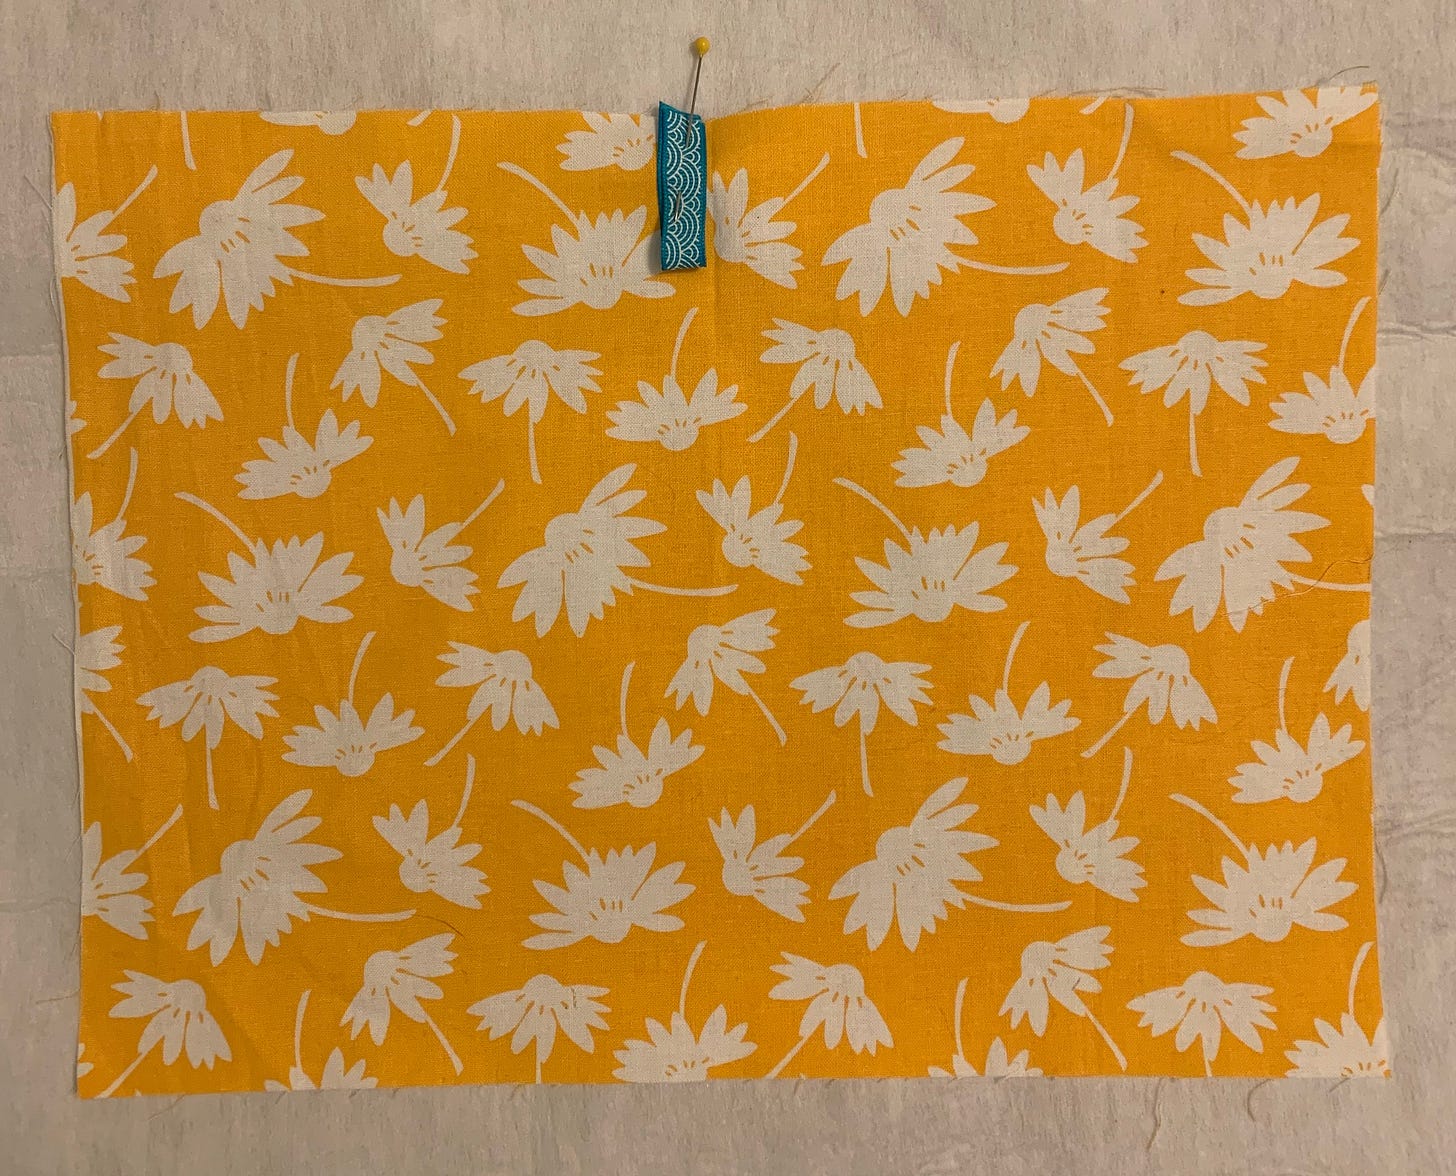
2. Fold your piece of ribbon or strip of fabric in half. Find the center of your fabric along its long side. Pin the tab in place along the center line with raw edges of tab aligned with raw edge of fabric. (See blue tab pinned in place along center line in photo below.)

3. Fold the fabric piece in half. Using a 1/2-inch seam allowance, sew the short side (back seam), sewing the tab in place and leaving an opening for turning. Sew along the bottom edge.
4. It might seem counterintuitive, but the next seam on the remaining short end will not be parallel to the seam on the other short end. Instead, mark the center fold at the upper left corner. Finger press the bottom seam allowance open. Flatten the piece to match the seam allowance with that center fold line.
5. Sew along the edge, perpendicular to the long bottom seam, leaving an opening for stuffing.
6. Turn the pillow inside out using the larger hole in the back seam beneath the tab.
7. Press front edge seam. Sew 1 inch in from the front seam. This creates a “tunnel” or casing to stuff. Sew another seam 1/2 inch in from that line of stitching to create a flat area between that stuffed tunnel and the body of the pillow where the phone will rest.
8. Now it’s time to stuff the pillow! To give it a bit of weight, I add Poly Pellets (about 1 or 1 1/2 cups) first. (You can also use rice.) Roll a piece of paper into a funnel to help you pour the pellets in through the opening in the back seam. The pellets or rice will settle along the bottom surface of the pillow. Next, finish stuffing the pillow with fiber fill on top of the pellets or rice.
9. Using the eraser end of a pencil, push stuffing into the “tunnel” on the front of the pillow. You want to make this area pretty firm and tightly packed with fiber fill.
10. Stitch openings in the front and on the back seam closed by hand, then prop up your phone or tablet and enjoy hands-free watching or reading!
I hope these instructions make sense. If you have questions, feel free to comment. Or post a photo if you make your own. I’d love to see your creations!
Until next time, happy stitching!
—Janice


